
Apply for Visa: In a Proper Way
Applying for a visa can seem like a daunting process, but breaking it down into a series of logical steps can make it much more manageable. The exact requirements and procedures vary significantly from one country to another, so the most crucial part of the process is to research the specific rules for your destination.
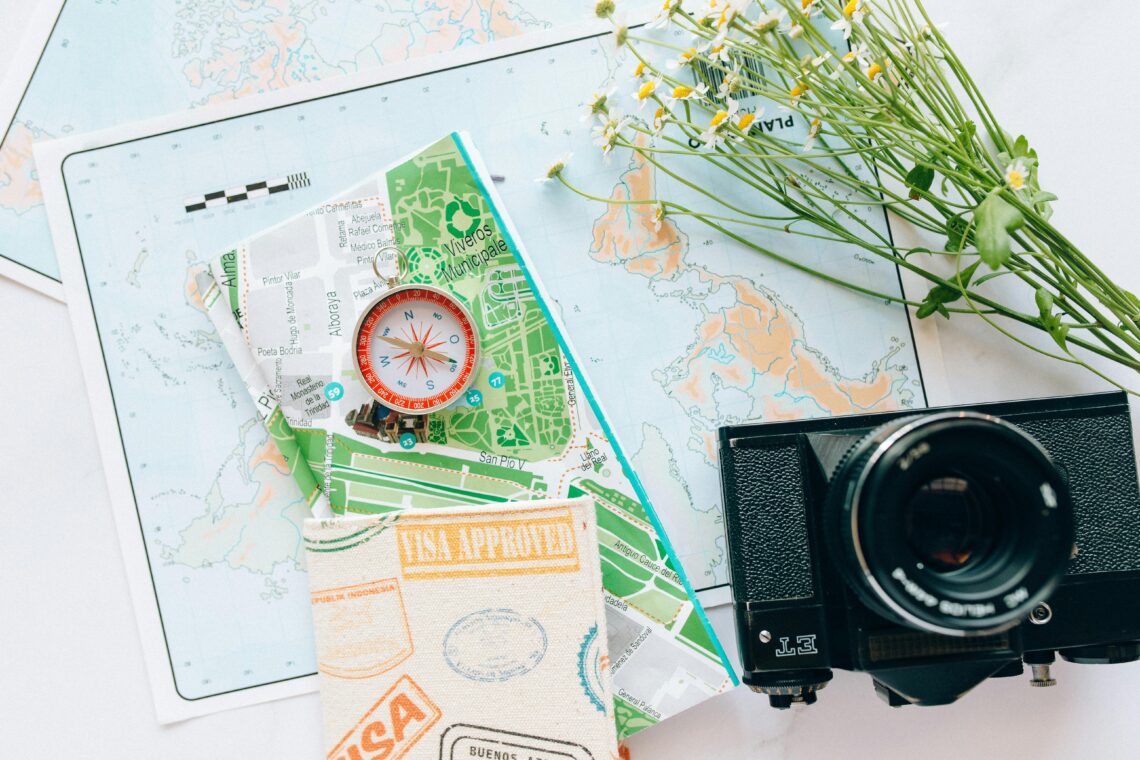
Here is a detailed guide on how to apply for a visa, outlining the general steps involved.
Step 1: Determine Your Visa Needs
Before you do anything else, you must figure out if you even need a visa to enter your destination country and, if so, which type.
- Check Visa Requirements: Use a reliable source, such as the official government immigration website of the country you plan to visit, to check if your nationality requires a visa for entry. Some countries have “visa-free” or “visa-on-arrival” agreements, while others require an Electronic Travel Authorization (eTA) or an eVisa, which is a digital visa you apply for online.
- Identify the Correct Visa Type: Visas are categorized by the purpose of your travel. Common visa types include:
- Tourist/Visitor Visa: For leisure travel, visiting family or friends.
- Business Visa: For business-related activities, such as attending conferences or negotiating contracts.
- Student Visa: For studying at an educational institution in the country.
- Work Visa: For those who have been offered a job in the destination country.
- Transit Visa: Required if you are passing through a country on your way to another destination and need to stay in the airport’s international zone for more than a few hours.
- Immigrant Visa: For individuals who intend to live permanently in the country.
Step 2: Gather All Necessary Documents
This is arguably the most critical and time-consuming part of the process. The required documents vary based on the visa type and country. It’s essential to collect them all accurately and in the specified format. Common documents include:
- Valid Passport: Your passport must be valid for at least six months beyond your planned stay, with a sufficient number of blank pages for stamps and the visa sticker.
- Visa Application Form: This can often be filled out online, and you’ll need to print the confirmation page.
- Passport-Sized Photos: These must meet specific requirements regarding size, background color, and how recent the photo is.
- Proof of Travel: This can include a confirmed flight itinerary showing entry and exit dates.
- Proof of Accommodation: A hotel booking, a letter of invitation from a host, or a lease agreement.
- Proof of Financial Means: Bank statements, payslips, or a letter from a sponsor to prove you can support yourself during your stay.
- Purpose of Travel Documentation: Depending on your visa type, you may need:
- For Tourists: A detailed itinerary of your trip.
- For Business Travelers: A letter of invitation from the host company.
- For Students: An acceptance letter from the educational institution.
- For Work Visas: A job offer or contract.
- Travel Health Insurance: Many countries require proof of travel insurance with a minimum coverage amount.
- Biometric Information: Some countries require you to provide fingerprints and a digital photograph as part of the application.
Step 3: Complete the Application and Pay the Fees
Once you have all your documents, you can complete the application.
- Fill Out the Form Accurately: Whether it’s an online form or a paper one, double-check all information for accuracy. Any discrepancies can lead to delays or denial.
- Pay the Visa Fees: Visa fees are non-refundable and vary by country and visa type. Payment is typically made online or at the time of your appointment. Be aware of any additional service fees from third-party visa application centers (e.g., VFS Global).
Step 4: Schedule and Attend an Appointment (if required)
Many countries use visa application centers or their embassies/consulates to process applications.
- Book an Appointment: You will likely need to schedule an appointment online to submit your documents and provide biometrics.
- Attend the Interview: For some visa types, particularly non-immigrant visas for countries like the United States, a personal interview with a consular officer is mandatory. During the interview, you will be asked questions about your purpose of travel, financial situation, and ties to your home country to ensure you will not overstay your visa.
Step 5: Track Your Application and Collect Your Passport
After submitting your application, you can usually track its status online using a reference number.
- Check Processing Times: Processing times can vary from a few days to several months, depending on the country and your specific case. It is crucial to apply well in advance of your planned travel date.
- Passport Collection: Once a decision has been made, you will be notified to collect your passport, either in person from the visa application center or via a courier service. The passport will contain your new visa, or a letter explaining the denial.
Tips for a Smooth Visa Application Process
- Start Early: Begin your application process several months before your planned trip.
- Consult Official Sources: Always rely on the official government or embassy websites for the most accurate and up-to-date information. Avoid third-party websites that may have outdated requirements.
- Be Honest and Consistent: Provide truthful and consistent information across all your documents and during any interview.
- Organize Your Documents: Keep all your documents neatly organized in a folder. This will help you during your appointment and ensure nothing is forgotten.
- Be Patient: The process can be stressful, but patience is key. Follow all instructions carefully and wait for the official decision.


You May Also Like

The Ultimate Travel Bucket List: You Should Visit

Hidden Gems: 7 Secret Destinations You’ve Never Heard Of!